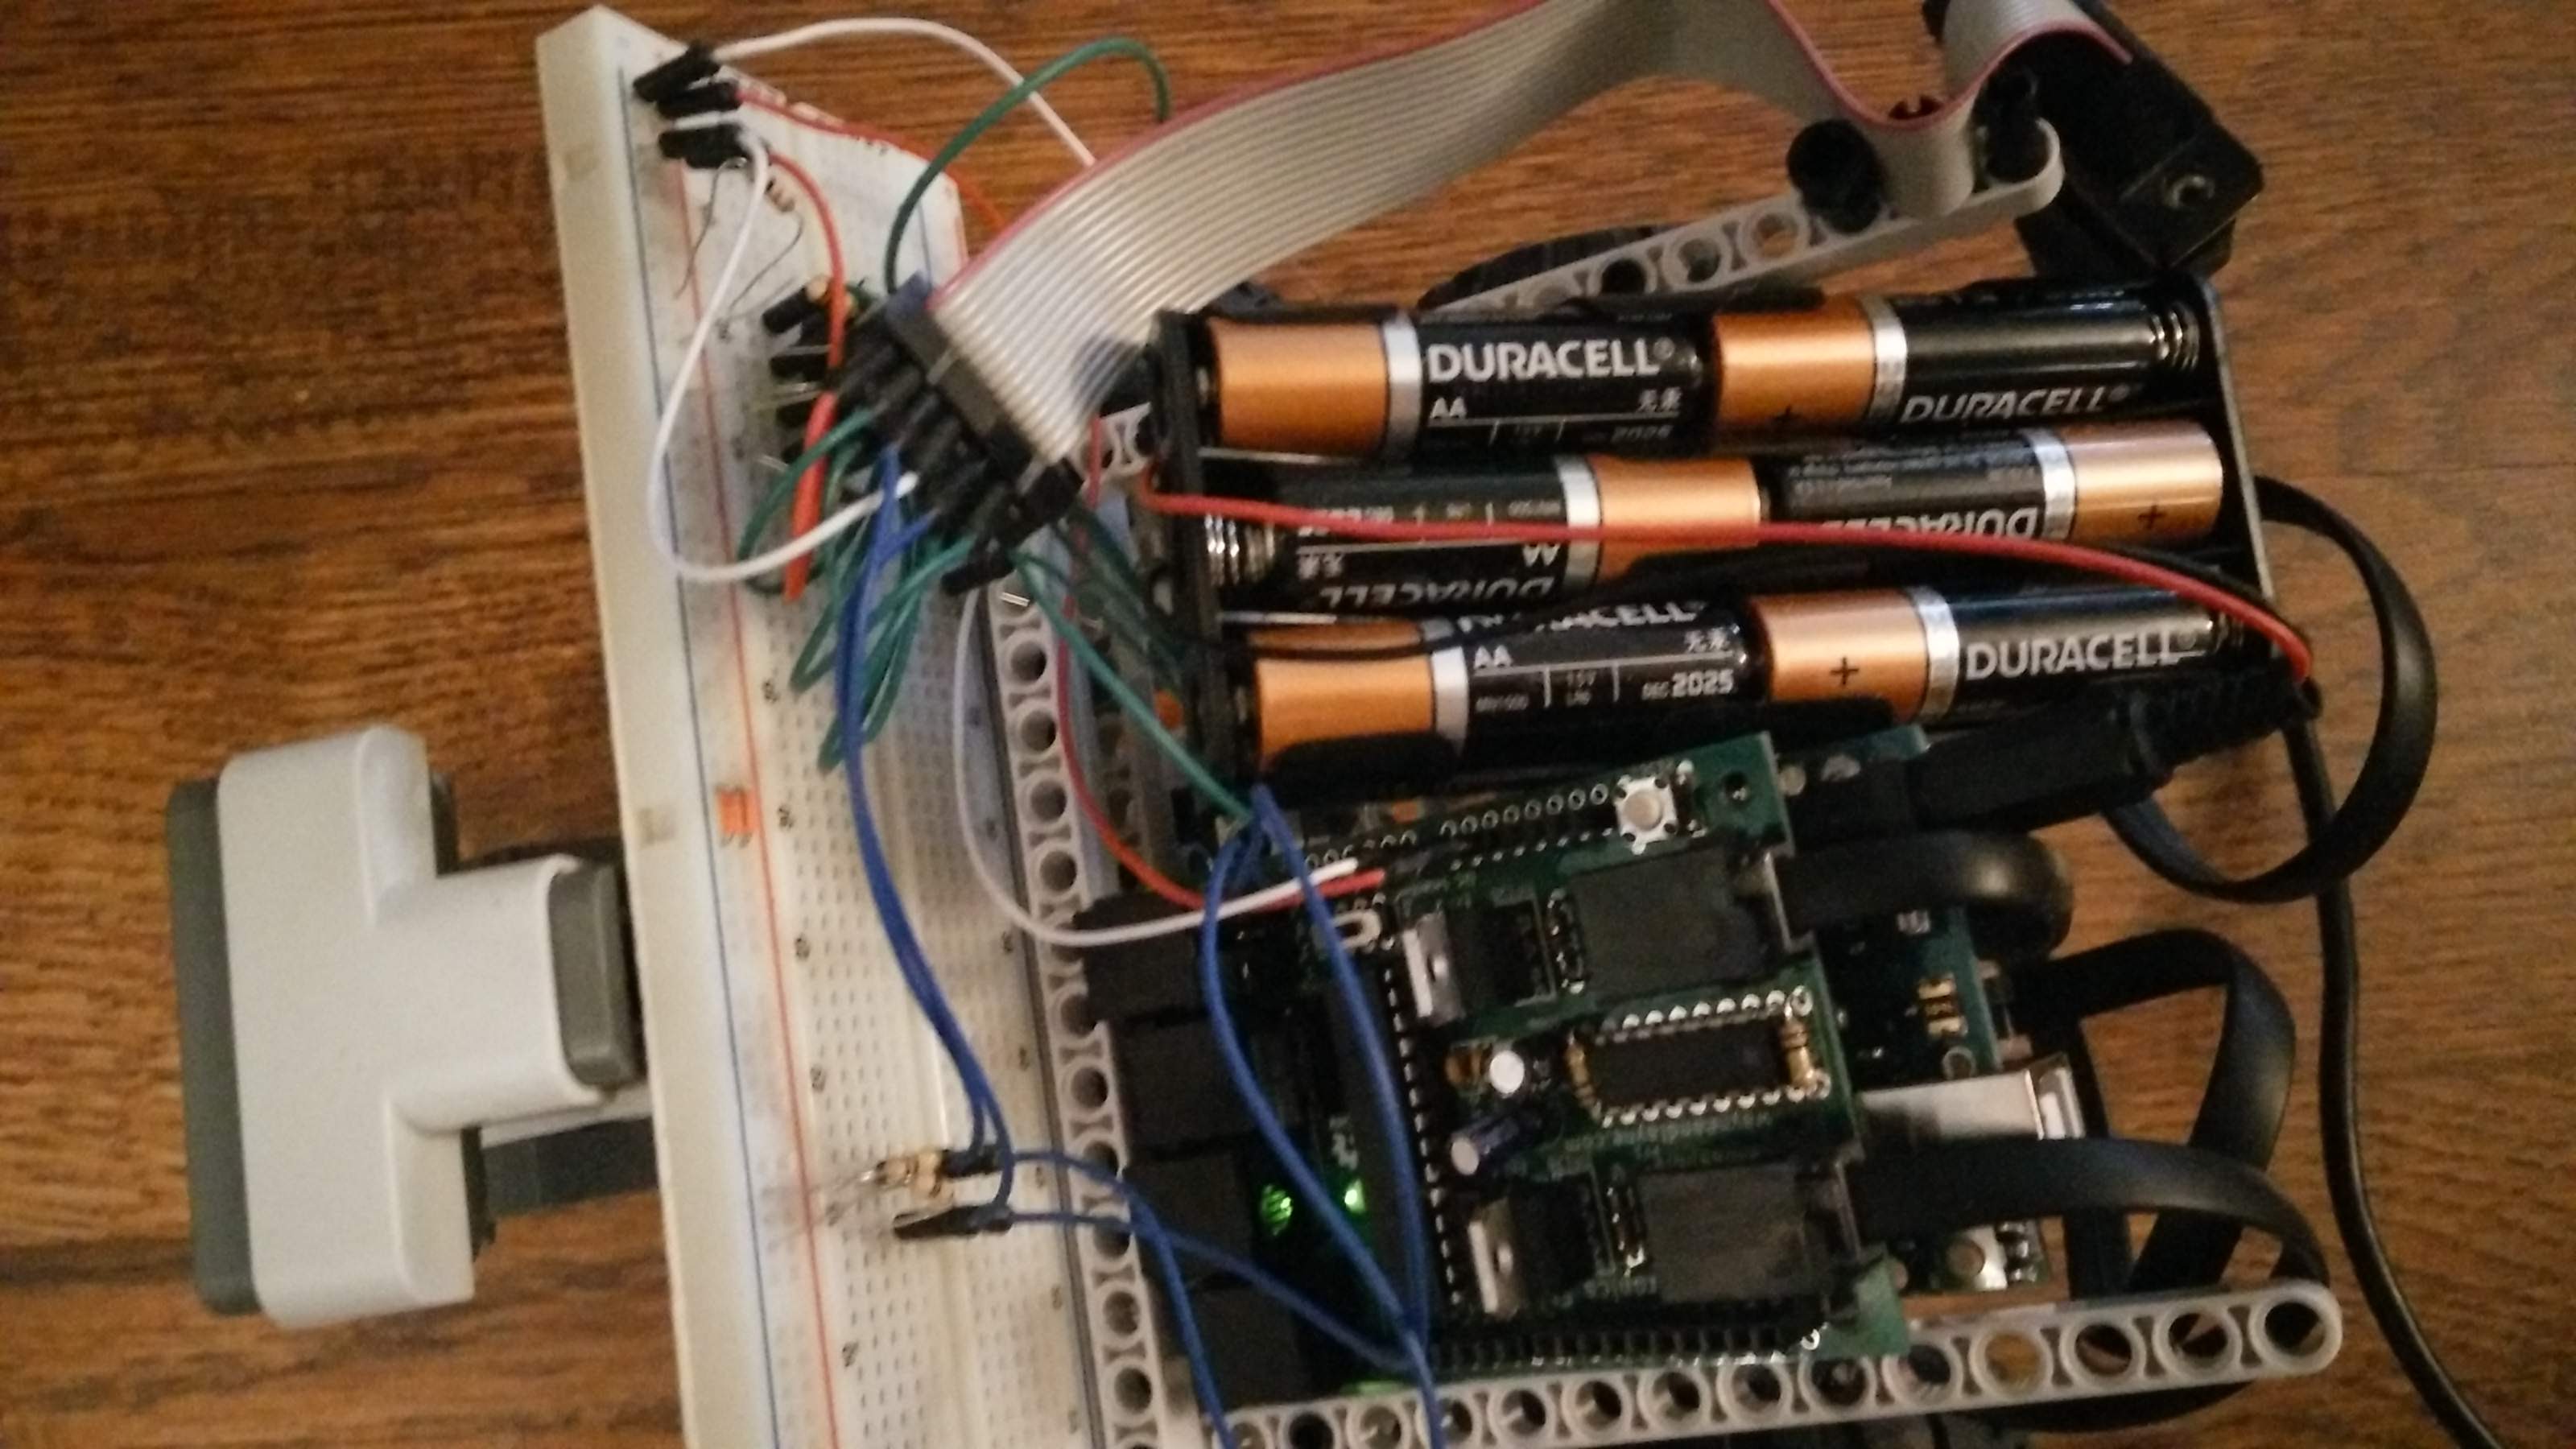
I really wanted to make Simon wireless. The breadboard and cord was a hassle and I didn’t want it to be permanent, so it constantly fell out. As a quick fix I tried using a Bluetooth Shield, however, the pin used to reset the Bluetooth was shared by one of the NXT motors. Depending on the position of the wheel the shield could either communicate or not.
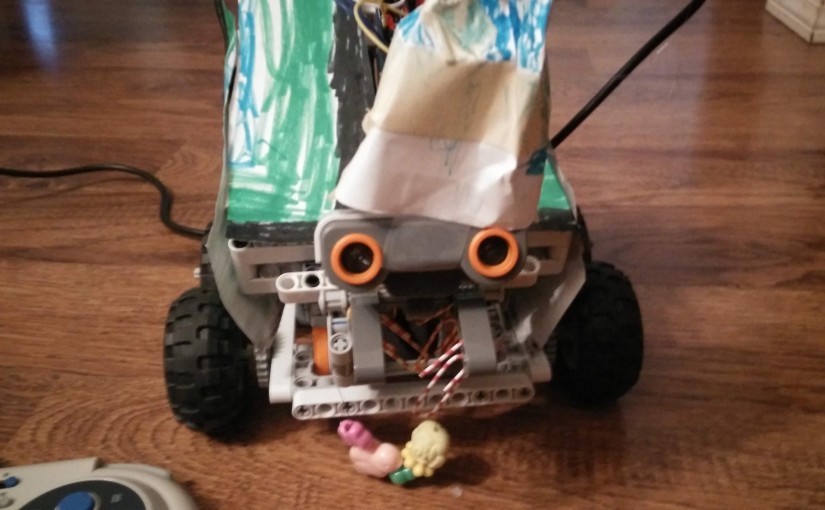
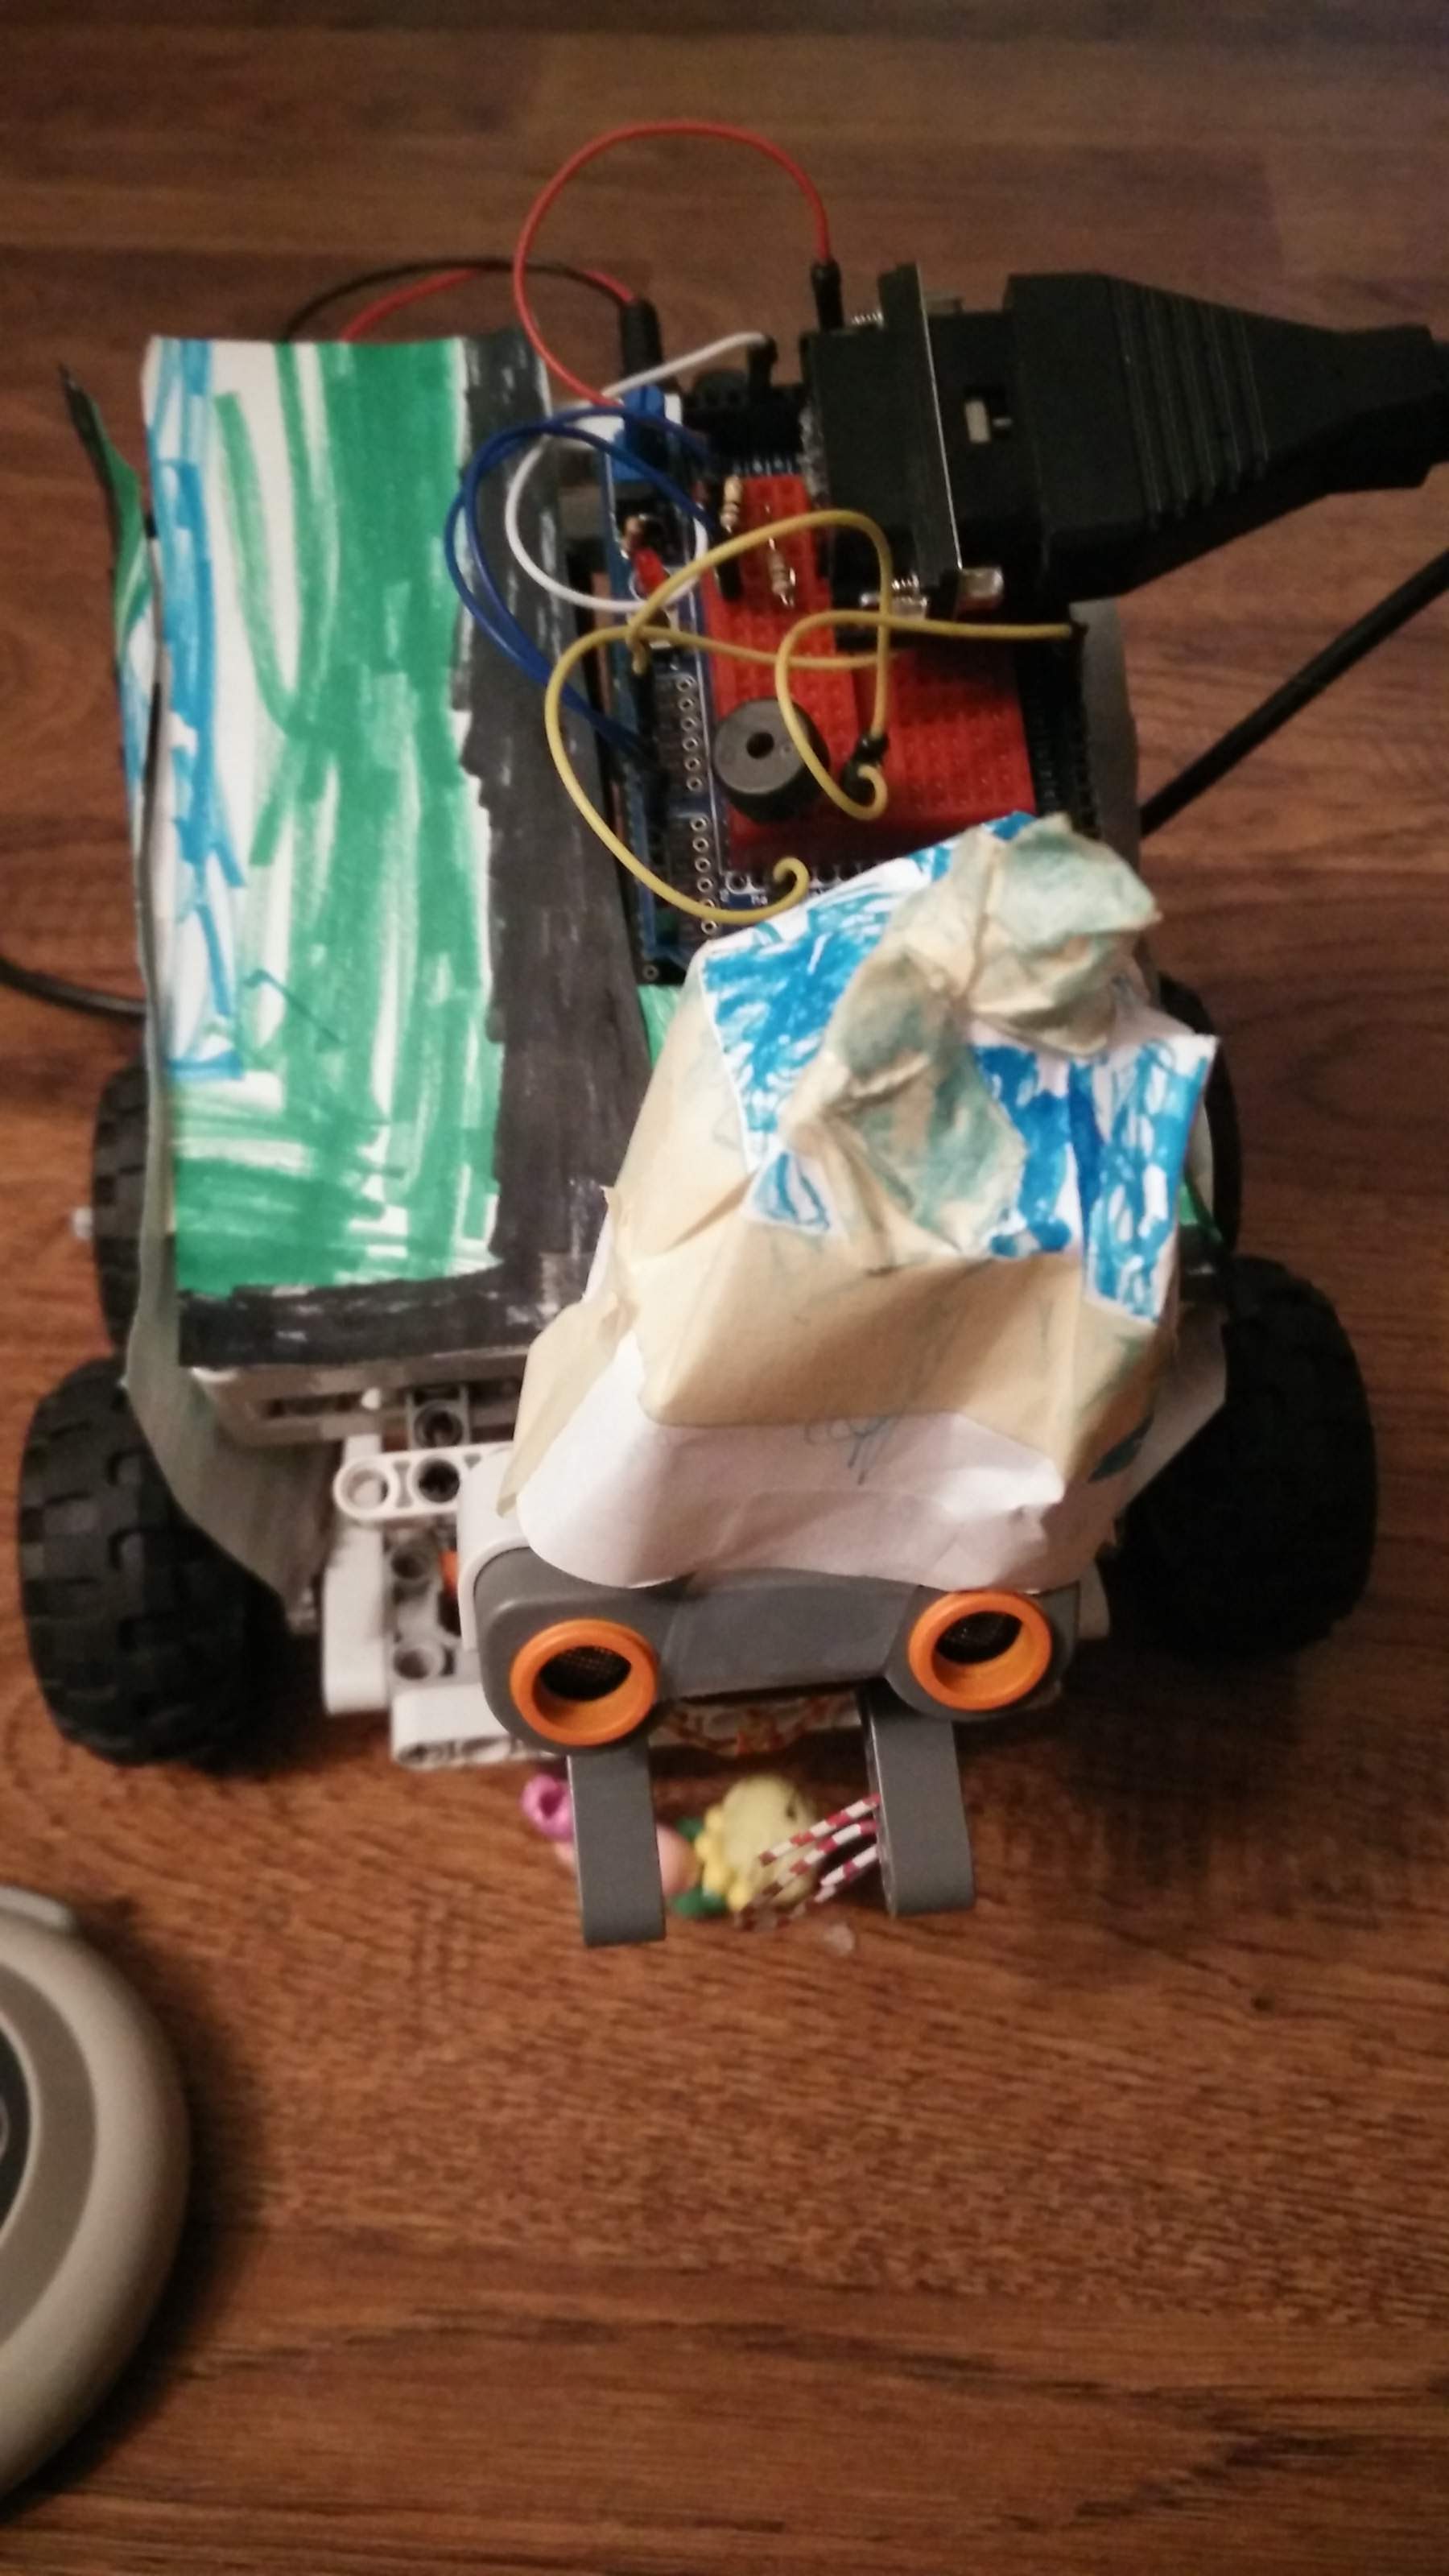
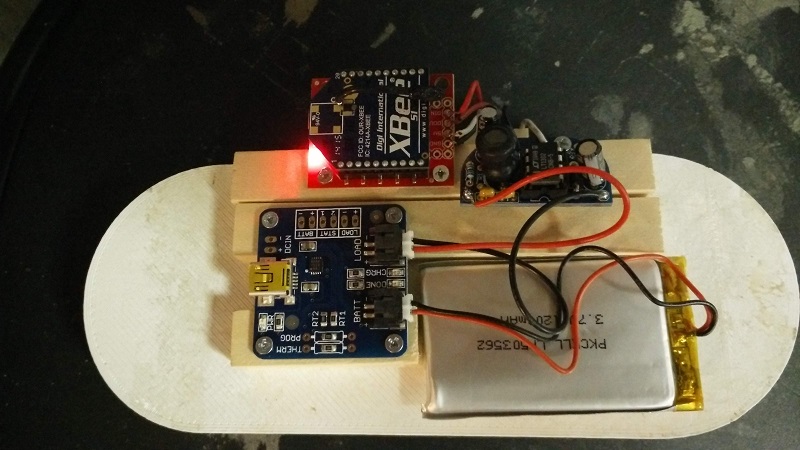
With the quick route unsuccessful, I decided to go ahead and build the wireless Esplora controller describe by Mike Barela on his blog. It look a lot of pieces but has worked great. I set it up with series 1 xBees which were surprisingly easy to get working. My daughter also upgraded his paneling to cardboard because the paper was too flimsy and coming off (he needs a new hat).
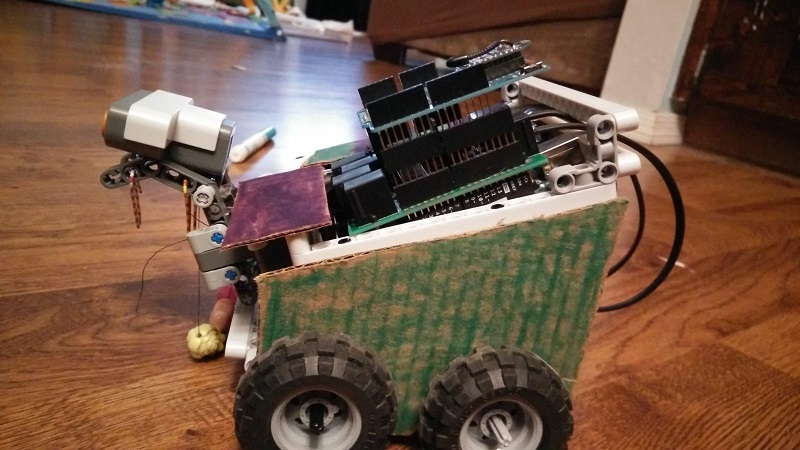
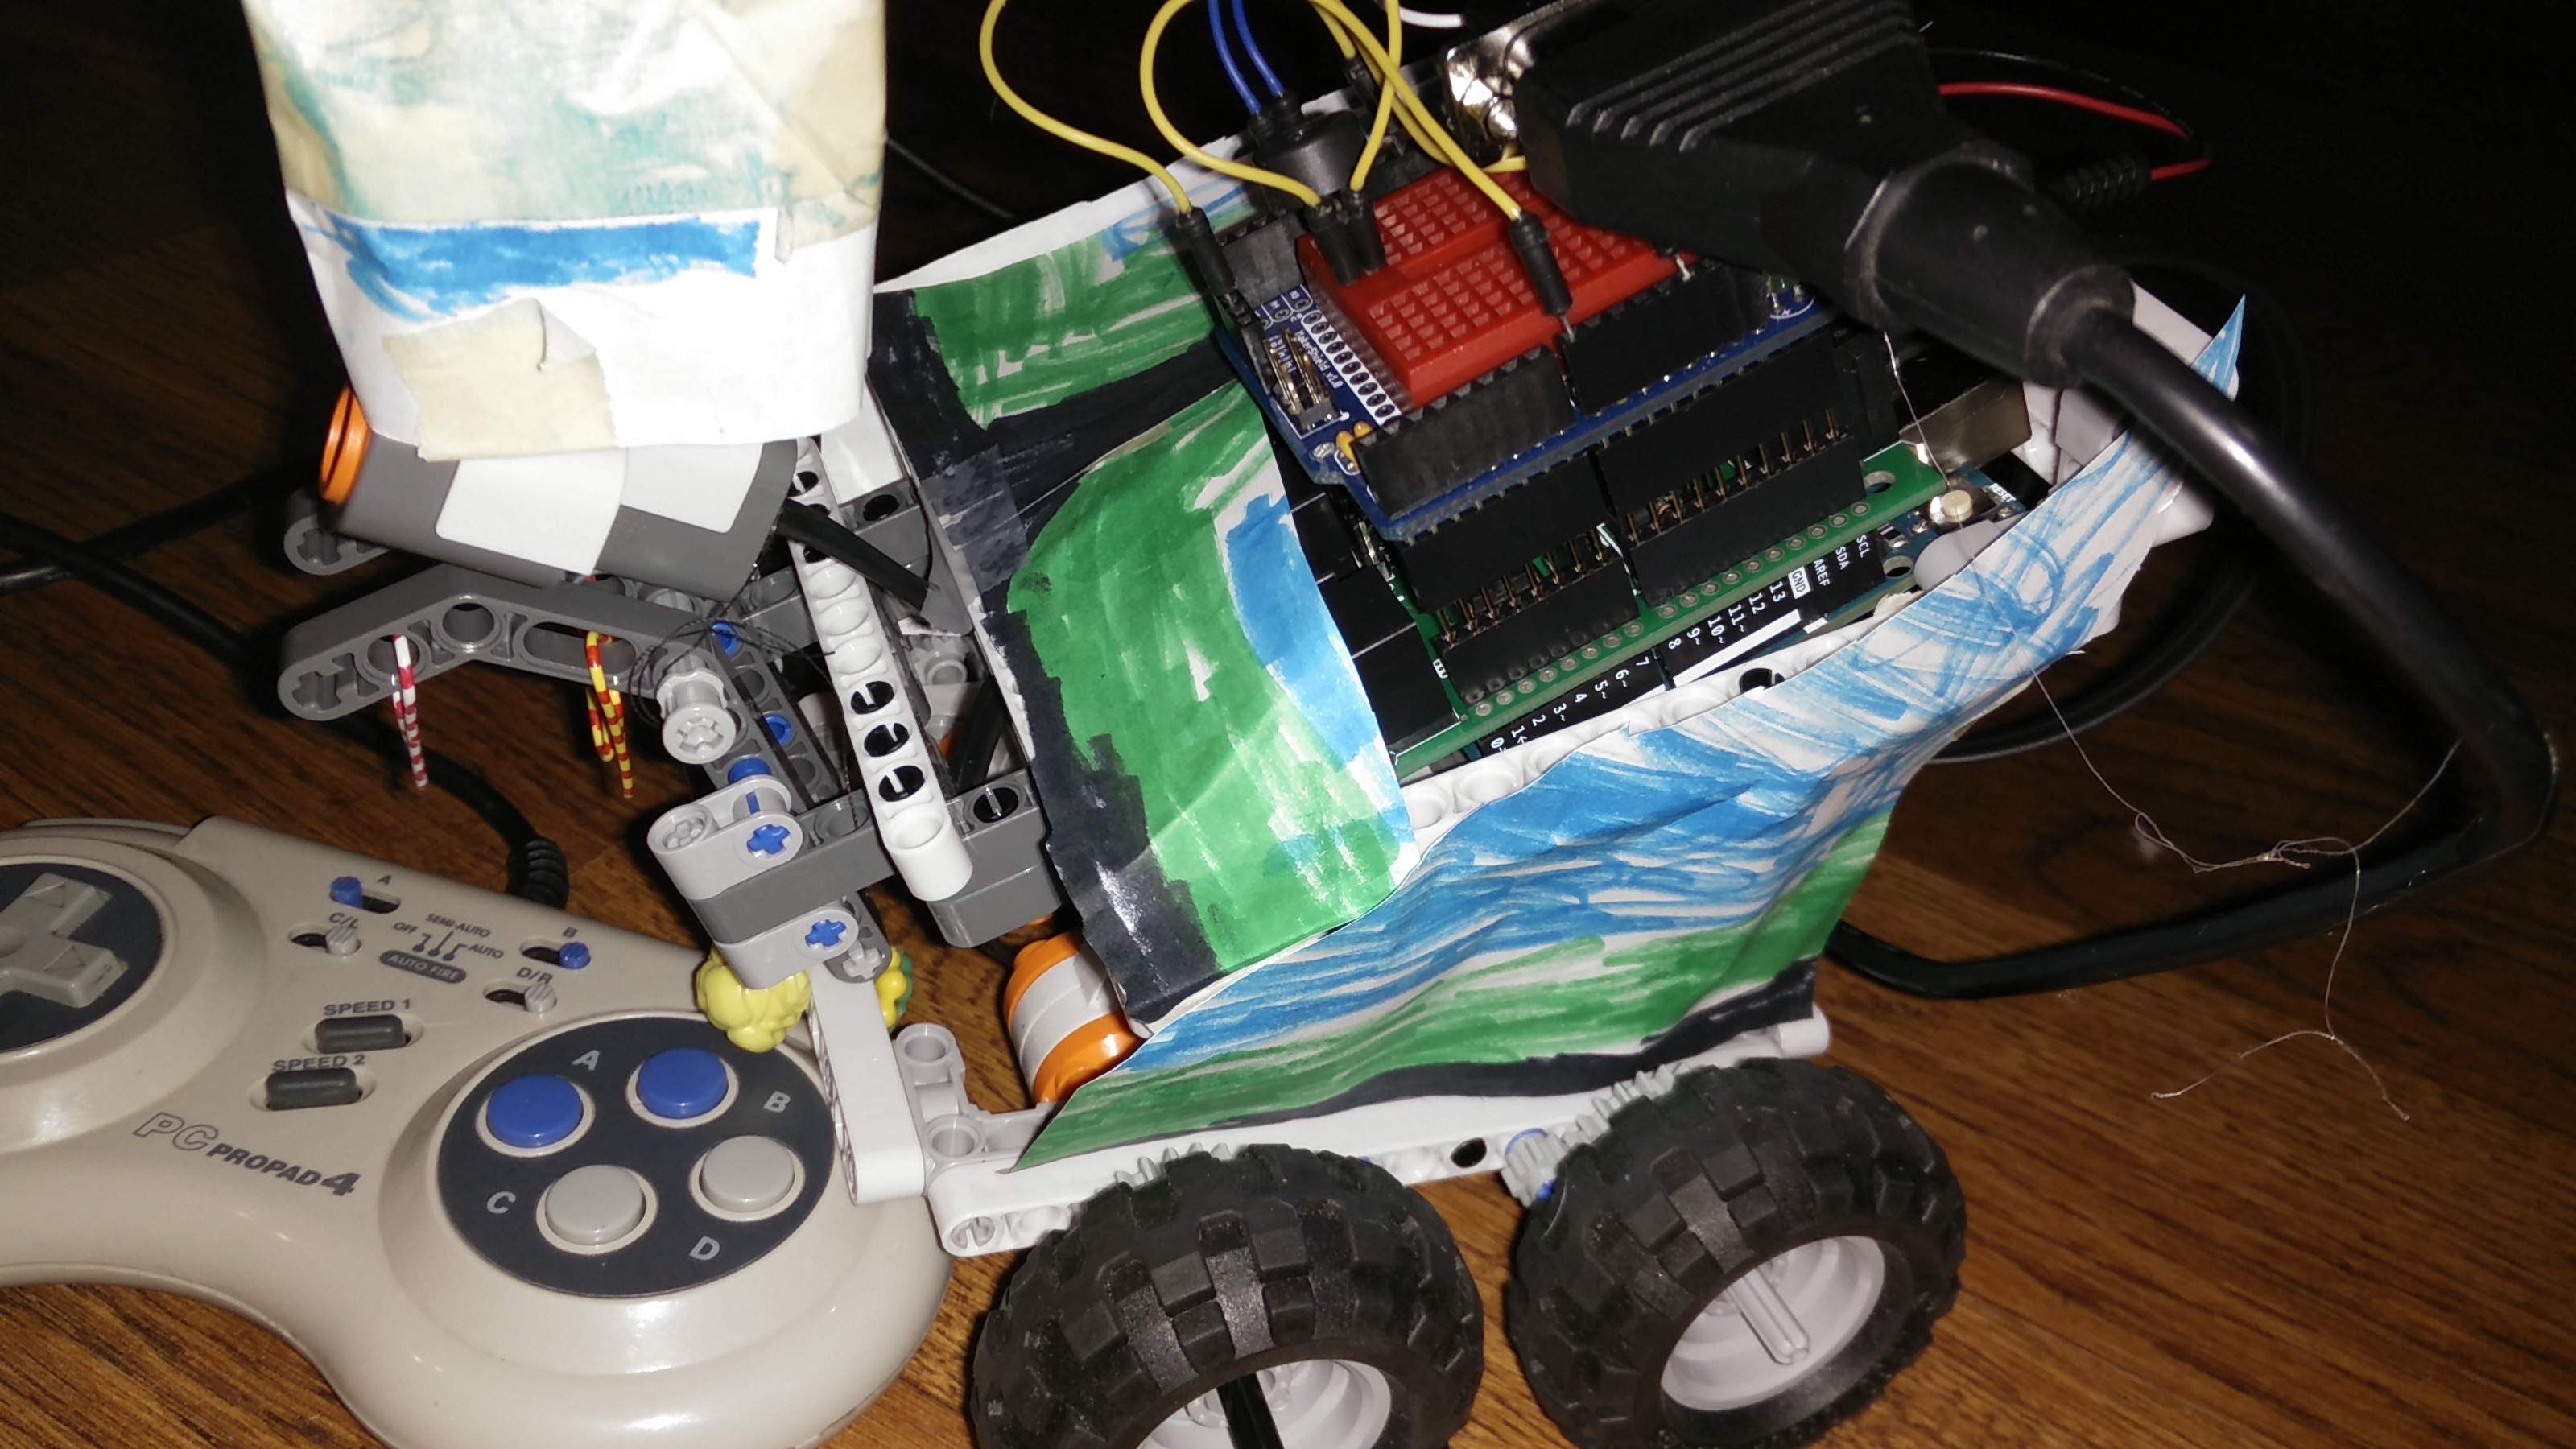
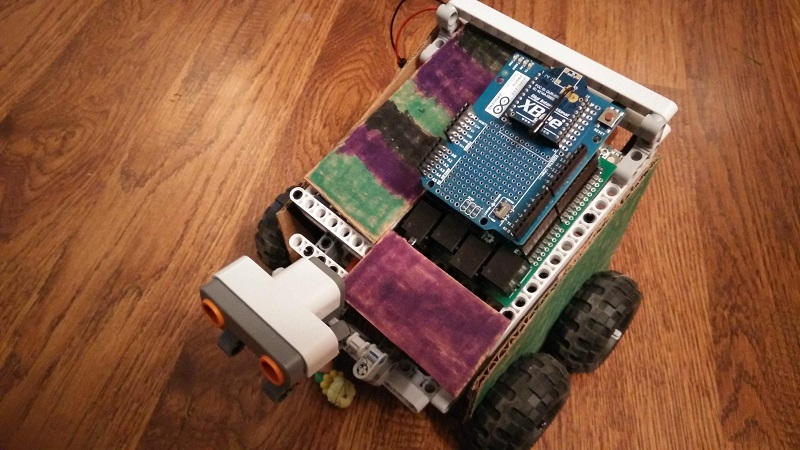
Simon now has the Uno, the NXT shield and wireless shield with an xBee on it. The breadboard and Gameport connection is gone. So is the buzzer for now.
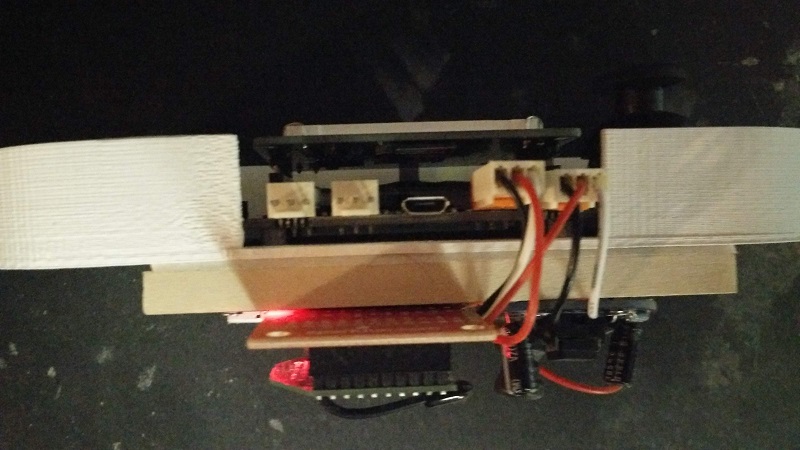
The only deviation from the Esplora Controller on the blog is how it is mounted. I had a partial 3D printed case for the Esplora so I mounted the Esplora inside of it. I then put some balsa wood on the back mounted with double sided mounting tape and screwed all the components to that.
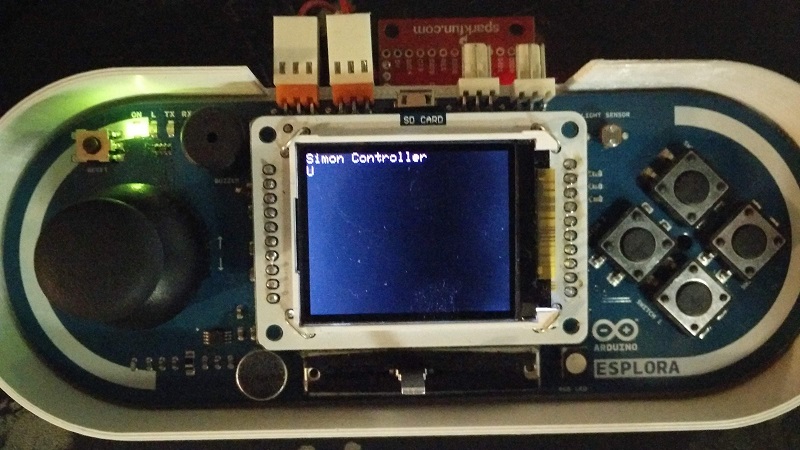
The programming part is simple. It just sends the character ‘u’, ‘d’, ‘l’, or ‘r’ depending on how the joystick is pressed and moves in that direction as well as displays it on the screen.
I have a lot planned for the controller now. Besides sending the joystick position there are 4 buttons (and the joystick button) that can be sent. I want to use the linear potentiometer to move a servo attached to the range sensor. There is also the mic which I think my daughter might like yelling at to make things happen.
With the TFT panel I want to be able to display all the sensors coming off of Simon. So the range sensor, color, mics, switches, whatever we put on her. I would also like to get some LEDs on Simon.
The Esplora is a fun product for learning, but fairly useless to for connecting things. Using it as a wireless controller with a TFT panel turns it into an extremely interesting product. It is a discontinued product, but you can still get the Arduino Esplora Board on Amazon.